How to Make AI Video from Photo: Complete & Practical Guide
Learn how to make AI video from photo comprehensively — from choosing platforms, configuring settings, to tips for professional-looking results.
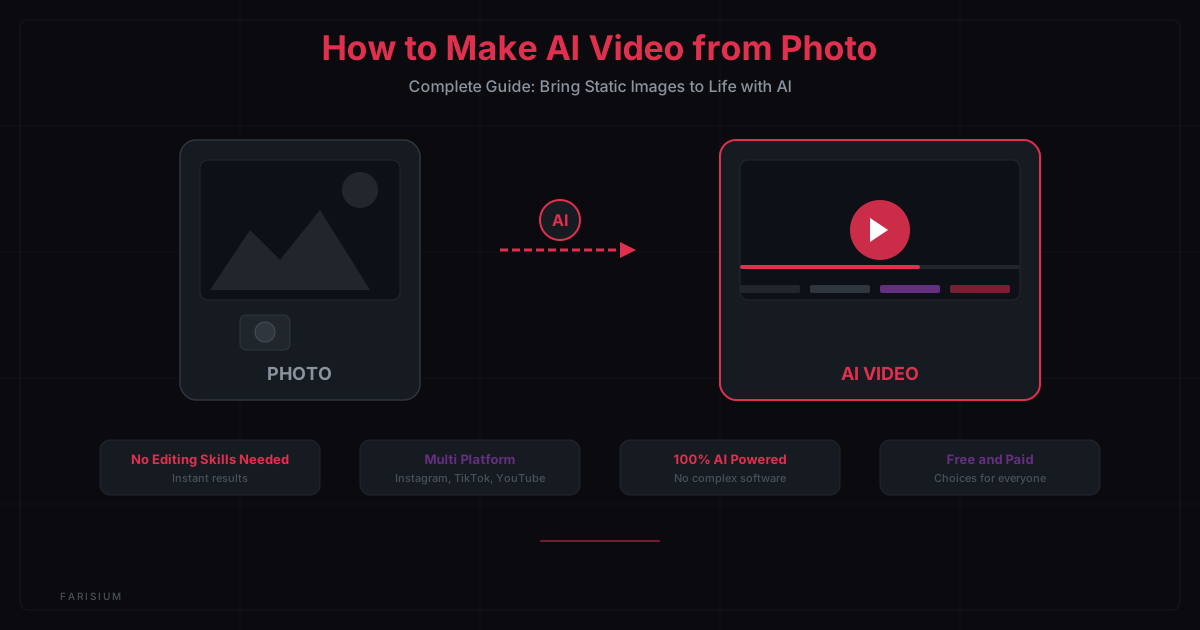
Imagine having an ordinary photo — a selfie, a landscape, or a product shot — and within seconds it becomes a cinematic, engaging video. No editing skills needed, no complex software required, just a photo and AI. This is what AI video generation technology offers, now more accessible than ever.
In this guide, you will learn how to make AI video from photo comprehensively — from choosing the right platform, configuring optimal settings, to tips for making your video look professional. Every step is explained practically and can be tried immediately.
What Is AI Video from Photo?
AI video from photo (or image-to-video) is technology that uses artificial intelligence to transform still images into moving videos. AI analyzes the photo content — objects, background, lighting — then predicts how these elements would naturally move.
This technology is now widely used across various fields:
- Content creation — Content creators transform product photos into promotional videos for Instagram Reels and TikTok.
- Film and animation — Directors use AI to create moving storyboards from static visual concepts.
- E-commerce — Online sellers transform product photos into engaging 360-degree videos.
- Archives and history — Historic photos are brought back to life as moving videos for documentaries.
- Social media — Regular users create unique content from vacation or family photos.
How to Make AI Video from Photo: Step by Step
Here is a complete guide you can follow from scratch. Every step is explained in detail for maximum results.
Step 1: Prepare a Good Photo
The quality of your starting photo greatly determines the final video quality. Use photos with at least 720p resolution (1080p or 4K is better). Avoid photos that are too blurry or dark. Generally supported formats are JPG, PNG, or WEBP.
Tips for best results:
- Choose photos with clear subjects — faces, products, or landscapes that are well-defined.
- Avoid photos with excessive noise or grain.
- Photos with natural lighting produce more realistic movements.
- For portrait photos, ensure the face is facing the camera and not obstructed.
Step 2: Choose an AI Video Platform
There are many platforms available. Choose the one that best suits your needs and budget:
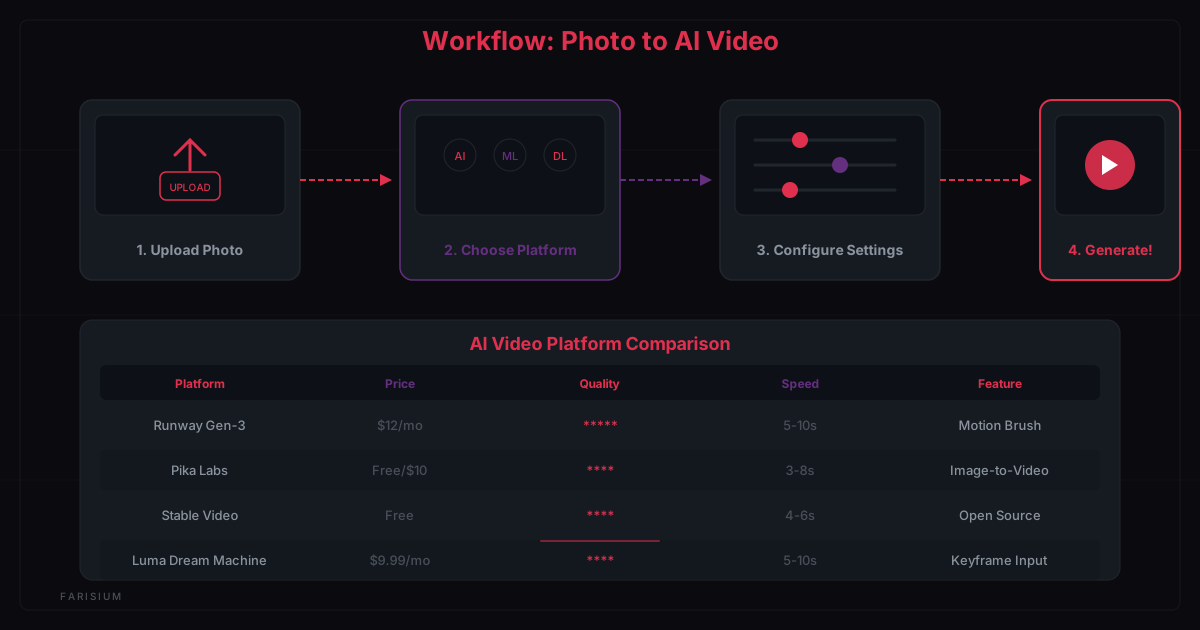
- Runway Gen-3 — Premium platform with the best quality. Motion Brush feature lets you control which areas to animate. Best for professionals. Starts at $12/month.
- Pika Labs — Best choice for beginners. Has a free plan to try. Results are quite good for social media content. Starts at $10/month for premium.
- Stable Video Diffusion — Open source and free. Requires a strong GPU if running locally. Best for those who want to experiment without limitations.
- Luma Dream Machine — Alternative offering high quality at affordable prices. Keyframe Input feature lets you set start and end poses.
- Kling AI — Newer platform offering very realistic results with longer video duration.
Step 3: Upload and Configure
After choosing a platform, follow these steps:
- Open the website or app of your chosen platform.
- Upload the photo you prepared.
- Write a descriptive prompt — explain how you want the video to move. Example: "A woman slowly turning her head and smiling, soft wind blowing her hair, cinematic lighting".
- Set video duration — usually 3-10 seconds. Longer durations take more time to generate.
- Choose output resolution — 720p for speed, 1080p for high quality.
- Click Generate and wait for results.
Step 4: Edit and Export
After the video is generated, you can make some adjustments:
- Regenerate if results are unsatisfactory — try a different prompt or adjust the seed.
- Edit in video editors like CapCut or DaVinci Resolve to add music, text, or effects.
- Export in MP4 format with resolution suitable for your target platform (1080p for YouTube, 1080x1920 for TikTok/Reels).
Tips to Make AI Video Look Professional
- Use specific prompts — don't just say "make it move", describe specific movements like "hair flowing in the wind" or "camera slowly panning left".
- Be consistent with style — use uniform color tone and mood across all videos.
- Pay attention to frame rate — 24fps for cinematic, 30fps for social media content.
- Add audio — videos without sound feel hollow. Use royalty-free music from Pixabay or Freesound.
- Use the right aspect ratio — 16:9 for YouTube, 9:16 for TikTok/Reels, 1:1 for Instagram feed.
- Experiment with various photos — each photo produces different output. Try different types to find what works best.
Common Mistakes to Avoid
- Using low-quality photos — small or blurry photos produce bad videos.
- Prompts too short or ambiguous — AI needs clear descriptions to generate natural movement.
- Expecting perfect results from one generation — often several attempts are needed for best results.
- Ignoring legal aspects — ensure the photos you use are yours or have a license for use.
- Not considering file size — AI videos can produce large files. Pay attention to available storage.
FAQ
Can I make AI video from photo for free?
Yes, several platforms like Pika Labs and Stable Video offer free plans with certain limitations. For best results without watermarks, paid plans starting at $10/month are usually needed.
How long does AI video generation take?
Depends on the platform and video duration. For 3-5 second videos, it usually takes 30 seconds to 2 minutes. Longer videos can take 5-10 minutes. Other factors affecting this include resolution and frame count.
Can AI video results be used commercially?
Depends on the platform's terms and conditions. Most paid platforms grant commercial rights for generated content. For free platforms, check the license agreement before using for business purposes.
How do I improve AI video quality?
Use high-resolution photos, write detailed and specific prompts, try several times with different prompt variations, and use the motion brush feature if available to control movement more precisely.
Are there photo size limits for upload?
Each platform has different limits. Generally supports photos up to 10MB with maximum 4K resolution. For best results, use at least 1080p photos in JPG or PNG format.
Conclusion
Creating AI video from photo is no longer complicated or expensive. With tools available today, anyone can transform ordinary photos into engaging videos in just minutes. The key is choosing the right platform, writing good prompts, and experimenting until you find the formula that works best.
Start with a simple photo you have now, try uploading to one of the platforms mentioned, and see the results. If you're interested in other AI tools, also try Farisium Anime Generator to create anime characters from photos, or read What Is Prompt Engineering to understand how to write more effective prompts. You can also read Future of AI in Indonesia 2026 for the latest AI trends locally.
Try Making AI Video Now
Explore Farisium AI ToolsPertanyaan Umum
Yes, several platforms like Pika Labs and Stable Video offer free plans with certain limitations. For best results without watermarks, paid plans starting at $10/month are usually needed.
Depends on the platform and video duration. For 3-5 second videos, it usually takes 30 seconds to 2 minutes. Longer videos can take 5-10 minutes. Other factors affecting this include resolution and frame count.
Depends on the platform's terms and conditions. Most paid platforms grant commercial rights for generated content. For free platforms, check the license agreement before using for business purposes.
Use high-resolution photos, write detailed and specific prompts, try several times with different prompt variations, and use the motion brush feature if available to control movement more precisely.
M. Faris Deni K.
Founder & Developer of Farisium. Writing about AI, technology, and platform development.